Why you should automate your Vendor Central business
Managing your vendor central business through its self-service tools can be daunting. Fortunately, Amazon offers a range of API (Application Programming Interface) options that allows a degree of automation and thus has the potential to make your business easier to manage, especially as you scale.
What exactly is an API?
Let’s start with a simple analogy. Imagine that you’re at a restaurant and want to order their chicken alfredo. This requires interaction with the kitchen where your meal is made, however, you’re not allowed beyond the guest area. Instead, you place the order with the waiter who tells the kitchen your request, then serves you once your pasta is ready.
In the analogy, the waiter is an intermediary between you, the guest, and the kitchen. Similarly, Amazon’s APIs are pieces of intermediary software that speak to Amazon’s database, telling it what you need, then serves you the requested information. Practically, the use of Amazon’s APIs allows communication between your order processing software and Amazon’s system. This results in more efficient supply chain operations and can likely improve your bottom line.
A look at the types of API’s and their individual benefits
Amazon have introduced two new Vendor APIs; Retail and Direct Fulfillment. Lets take a closer look at each.
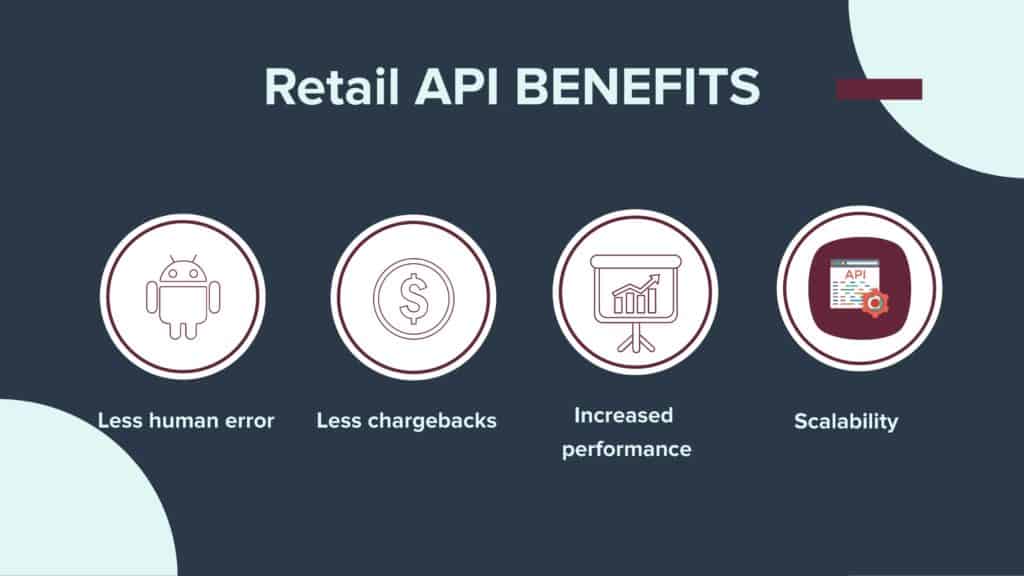
- Less Human Errors – By reducing manual input when handling purchase orders, human error is reduced as the API processes orders based on Amazon’s precise information. Labor costs are also reduced.
- Increased Vendor Performance – The API allows faster feedback which improves vendors’ confirmation and fill rates. Being able to process orders faster translates to more business.
- Avoiding chargebacks – Chargeback fees are incurred when vendors don’t comply with shipping and fulfillment guidelines. The API follows rules precisely and works in the right timing thus reducing the sort of problems that lead to chargeback fees.
- Scalability – Whereas manual labor costs rise as your business scales, the cost of API remains the same thus curbing costs when growing.
Comparisons between Retail API and Direct Fulfillment API
Here are some additional benefits of the two key Vendor Central APIs:
| Retail API | Direct Fulfillment API |
| Compare ordered items with your stocks faster
Notify Amazon about shipments sooner and on-time Optimize your inventory report Forecast your stock availability Optimize your shipping experience Easily Submit invoices Avoid payment delays and disputes Stay ahead of your competitors with a quick-service shipping API Contribute to your efforts of improving operational efficiency metrics | Update items inventory
Synchronize warehouse inventory Get new purchase orders Submit purchase order confirmation Check purchase order confirmation status Provide shipment information to generate ship labels Get shipping labels Submit/create shipment confirmation (ASN) Update shipment confirmation Check shipment confirmation status Submit/update invoice |
How do I get started
To integrate Amazon’s APIs with your systems, you need a web developer that has experience in rest API.
Step by Step Guidelines for Developers:
1) Register an AWS Account
- Go to https://aws.amazon.com/free
- Click on Create a Free Account
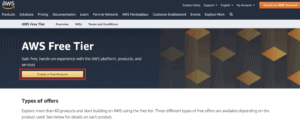
2) Create an AWS Identity and lAM Policy
- In the AWS Management Console, search ‘IAM’ then click ‘IAM – Manage access to AWS resources’
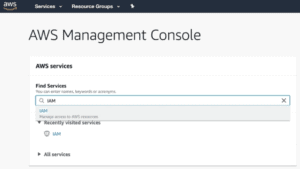
- Click Policies on the left pane, then ‘Create policy’
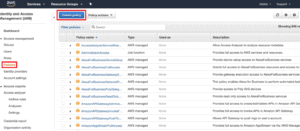
- On the Create policy screen, go to the JSON tab, paste the Policy code from the Vendor Development Guide then click Review policy
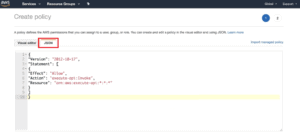
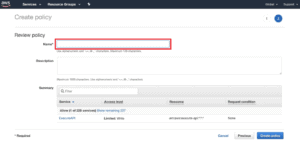
- Name your policy, e.g. ‘SellingPartnerAPI’, then click ‘Create policy’
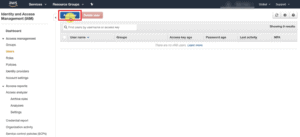
3) Create an lAM User
- Click Users on the left pane, then Add user
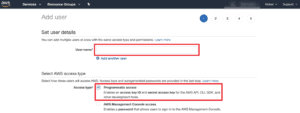
- Set the User name, check the Programmatic access box under Access type, then click ‘Next: Permissions’
- Click ‘Attach existing policies directly’, then click the Filter policies drop down and filter by Customer managed. Check the box next to the policy created earlier. Click ‘Next: Tags’, ‘Next: Review’, then ‘Create user’N.B. Download or save your AWS secret access key to a safe place. This will be used to authenticate calls to the Selling Partner API. You will not have access to these access keys again and if lost, you will have to create a new IAM user with its own keys.

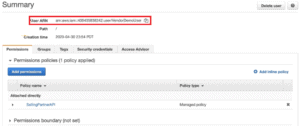
- After closing the screen with your access key, click on your username then write down your User ARN
4) Register as Developer and Create an Application (both done via a single ‘Contact Us’ case creation)
- Click support at the top of the screen, then scroll down and click ‘Contact Us’
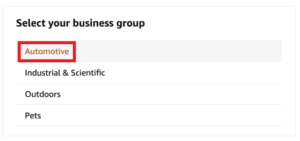
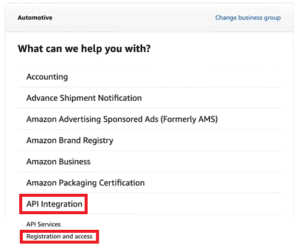
- Under Select your business group, click Automotive, then API Integration. Finally, click Registration and access
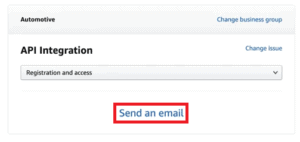
- Click Send an email
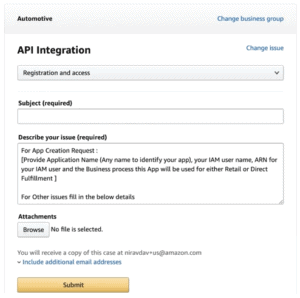
- Provide the requested details including your IAM user name, ARN for your IAM user and the Business process this App will be used for (either Retail or Direct Fulfillment). Click Submit to submit the case and the support team will create an application for you

- Once your application is created, you will receive an email linking you to the developer console
6) Authorize the developer application
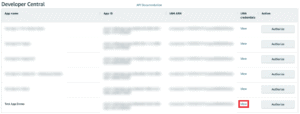
- On the developer central screen, click view next to the app
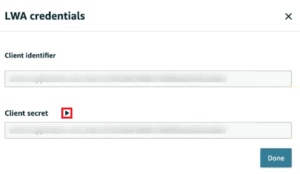
- On the LWA credentials screen, click the Client secret drop down, write down the client ID and secret key then click done
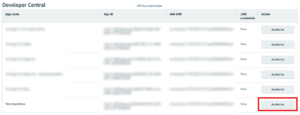
- On the developer central screen, click Authorize

- Click Generate refresh token then write down the Refresh token
7) Download Documentation and API Resources
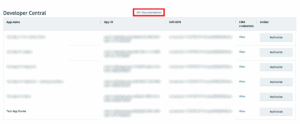
- Click on API documentation at the top of the Developer Central page
- Read the vendorDevGuide.pdf provided in the zip file. Install the prerequisite software before proceeding
- Download http://search.maven.org/maven2/io/swagger/swagger-codegen-cli/2.4.7/swagger-codegen-cli-2.4.7.jar
8) Run API via Postman Collection
N.B. Invoking the API via Postman will require to make 2 API calls, 1) Generating the OAuth2 Token and 2) Making actual API call with Token
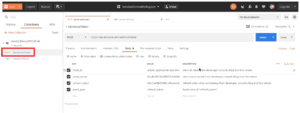
- Create POST request for token generation
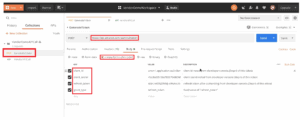
- On the Headers tab, ensure Content-Type is correctly populated
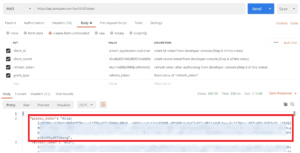
- Next, Run the API then copy the Access token value

- Create a GET request for the actual API call

- Enter URL as given in Vendor Guide, then create a header property ‘x-amz-access-token’ and enter the value from copied token
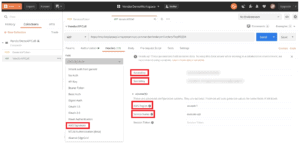
- On the Authorization tab, select ‘AWS Signature’ as the authorization type, enter the IAM User Access key and Secret captured earlier. Enter the AWS Region and Service Name as ‘execute-api’ then Run the API
9) Generate Java Client Library with LWA Authentication
- Create folder and copy resource zip and jar file downloaded from previous steps.
- Extract the resource zip

- Create another folder and name, e.g. SwaggerToCode
- Copy the vendorOrders.json file from the APIDocs folder to the SwaggerToCode folder just created

- Copy the swagger codegen jar file into the SwaggerToCode folder as well
- Create a new folder in the SwaggerToCode and name it, e.g. vendorOrders_JavaClient. This will be used to generate java client SDK
- Go to the APIDocs folder and unzip the sellingpartner zip file
- Generate the Java SDK using this command line format:
java -jar <path_to_swagger_codegen.jar> generate -i <path_to_vendorOrders.json> -l java -t <path_to_selling_partner_project_template_directory> -o <path_to_output_java_client> - Once the Client Library (SDK) is generated, it’s time to package (jar) the selling partner-api project using this command line format:
from sellingpartner-api-aa-java project directory mvn package
- Once the jar file is generated in the ‘target’ directory of the project, install the generated JAR in local MVN Repository (to be used as dependency in the client SDK). Use this command line format:
mvn install:install-file -Dfile=<path_to_jar_file> -Dgroupld=<groupld> -Dartifactld=<artifactld> -Dversion=<version> -Dpackaging=jar
- Import the client SDK (vendorOrders_JavaClient) into your choice of IDE
10) Run the application
- Create the test package and class
- Import sellingpartner authentication packages
- Import vendorOrders swagger packages
- Create an instance of AWSAuthenticationCredentials
- Pass the IAM User’s Accesskey and Secret
- Create an instance of LWAAuthorizationCredentials
- Pass the ClientID/Secret and Refresh Token generated earlier
- Create an instance of VendorOrdersApi
- Invoke the api by passing the PurchaseOrder Number


